SellerMagnet Login and Setup Process: Step-by-Step Guide
1. Register on SellerMagnet

2. Enter Email and Password

3. Enter Verification Code

4. Log in Again
5. Access the SellerMagnet Dashboard and Choose a Plan

6. Enter Billing Information

7. Proceed to the Setup Process
8. Add Your Amazon Account
- Connection Name: Enter a name for the connection, e.g., “My Amazon Account”.
- Import Starting Date: Select a start date for data import.
- Default Marketplace: Choose your main marketplace (e.g., Amazon DE).
- Does Amazon Charge VAT on Fees?: Choose “Yes” or “No”. If “Yes,” enter the applicable VAT %.

9. Establish Amazon oAuth Connection

10. Finalize SellerMagnet Settings
- Currency: Choose e.g., €.
- VAT System: Choose between OSS VAT, Amazon Automatic VAT, or Firm VAT, and enter the applicable VAT %.

11. Orders Begin Loading
Additional Guides
Stop Juggling Tools. SellerMagnet Combines Everything You Need.
Join a smarter way to manage your Amazon store.
Recommended Articles
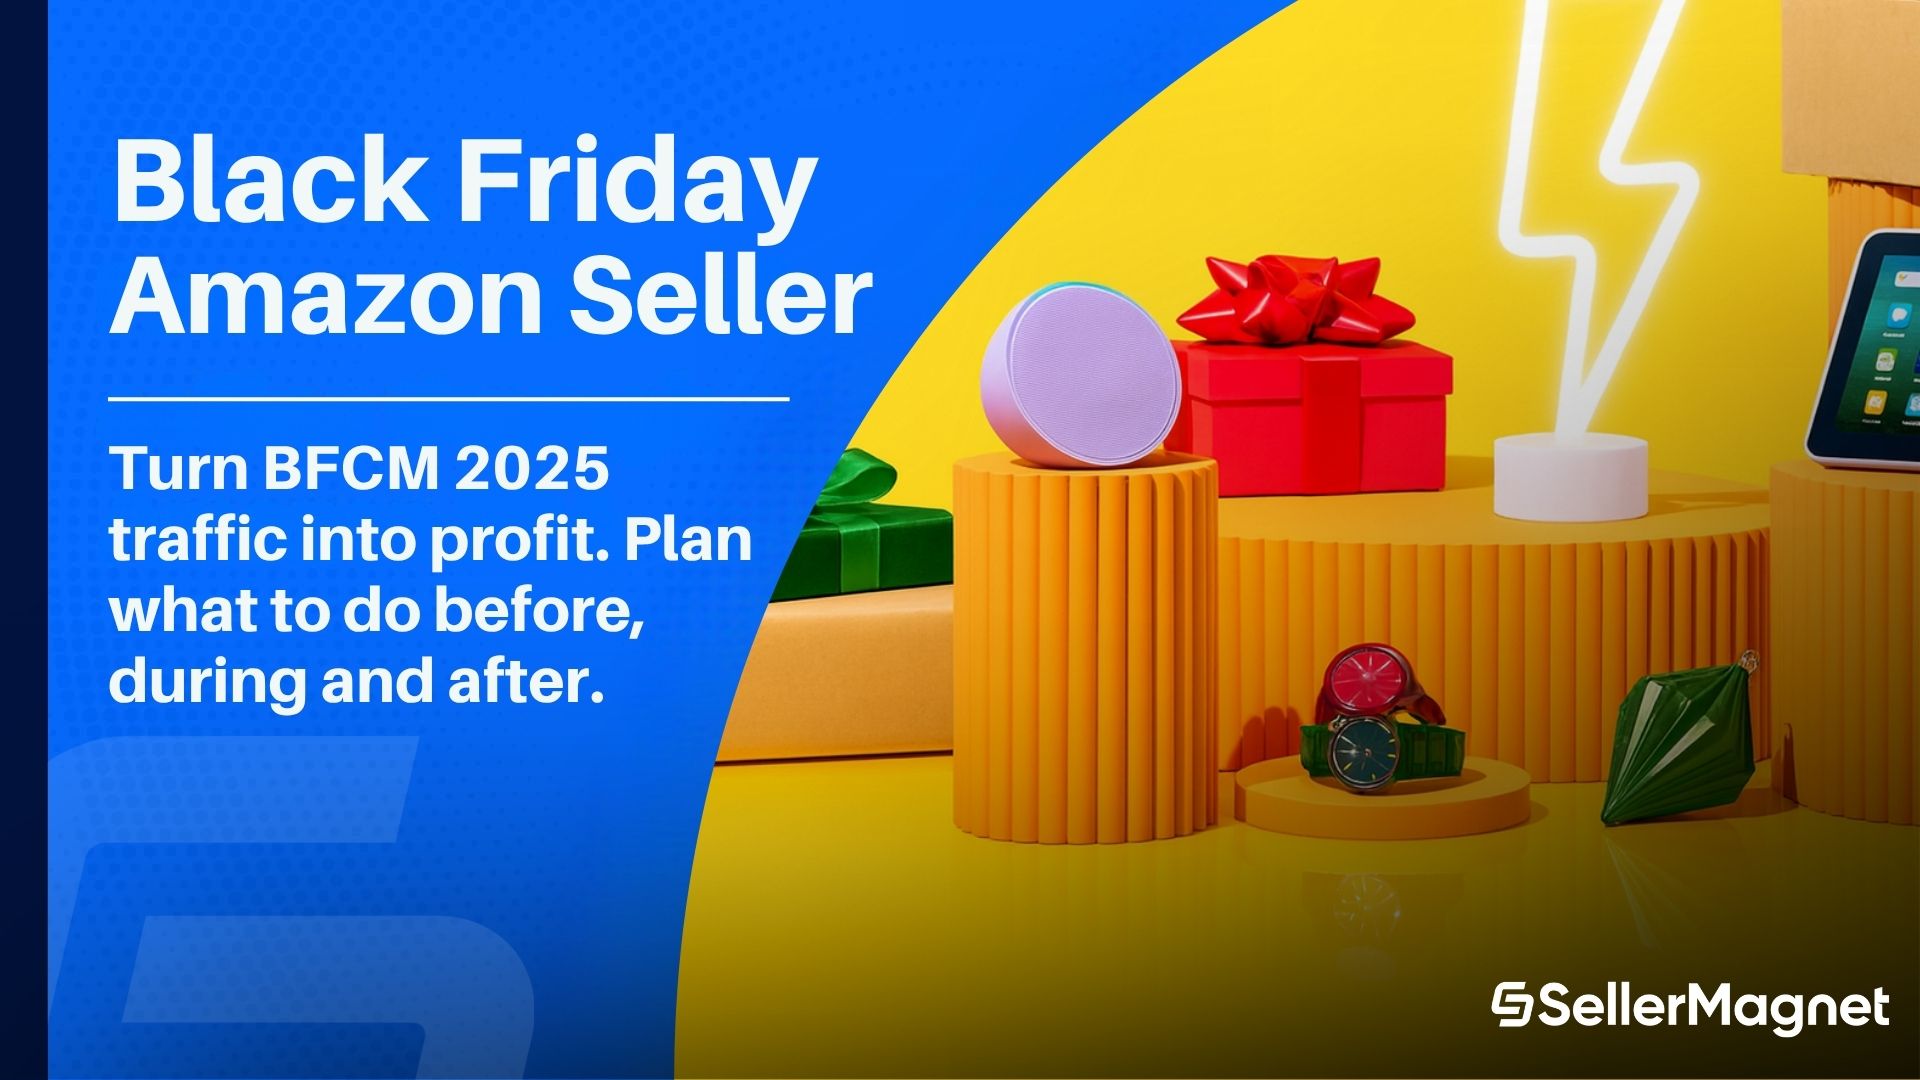
Black Friday for Amazon Sellers 2025: Plan & Win
Turn BFCM traffic into profit. Plan what to do before, during and after, choose PED vs coupons vs deals, protect Buy Box and measure true margin.
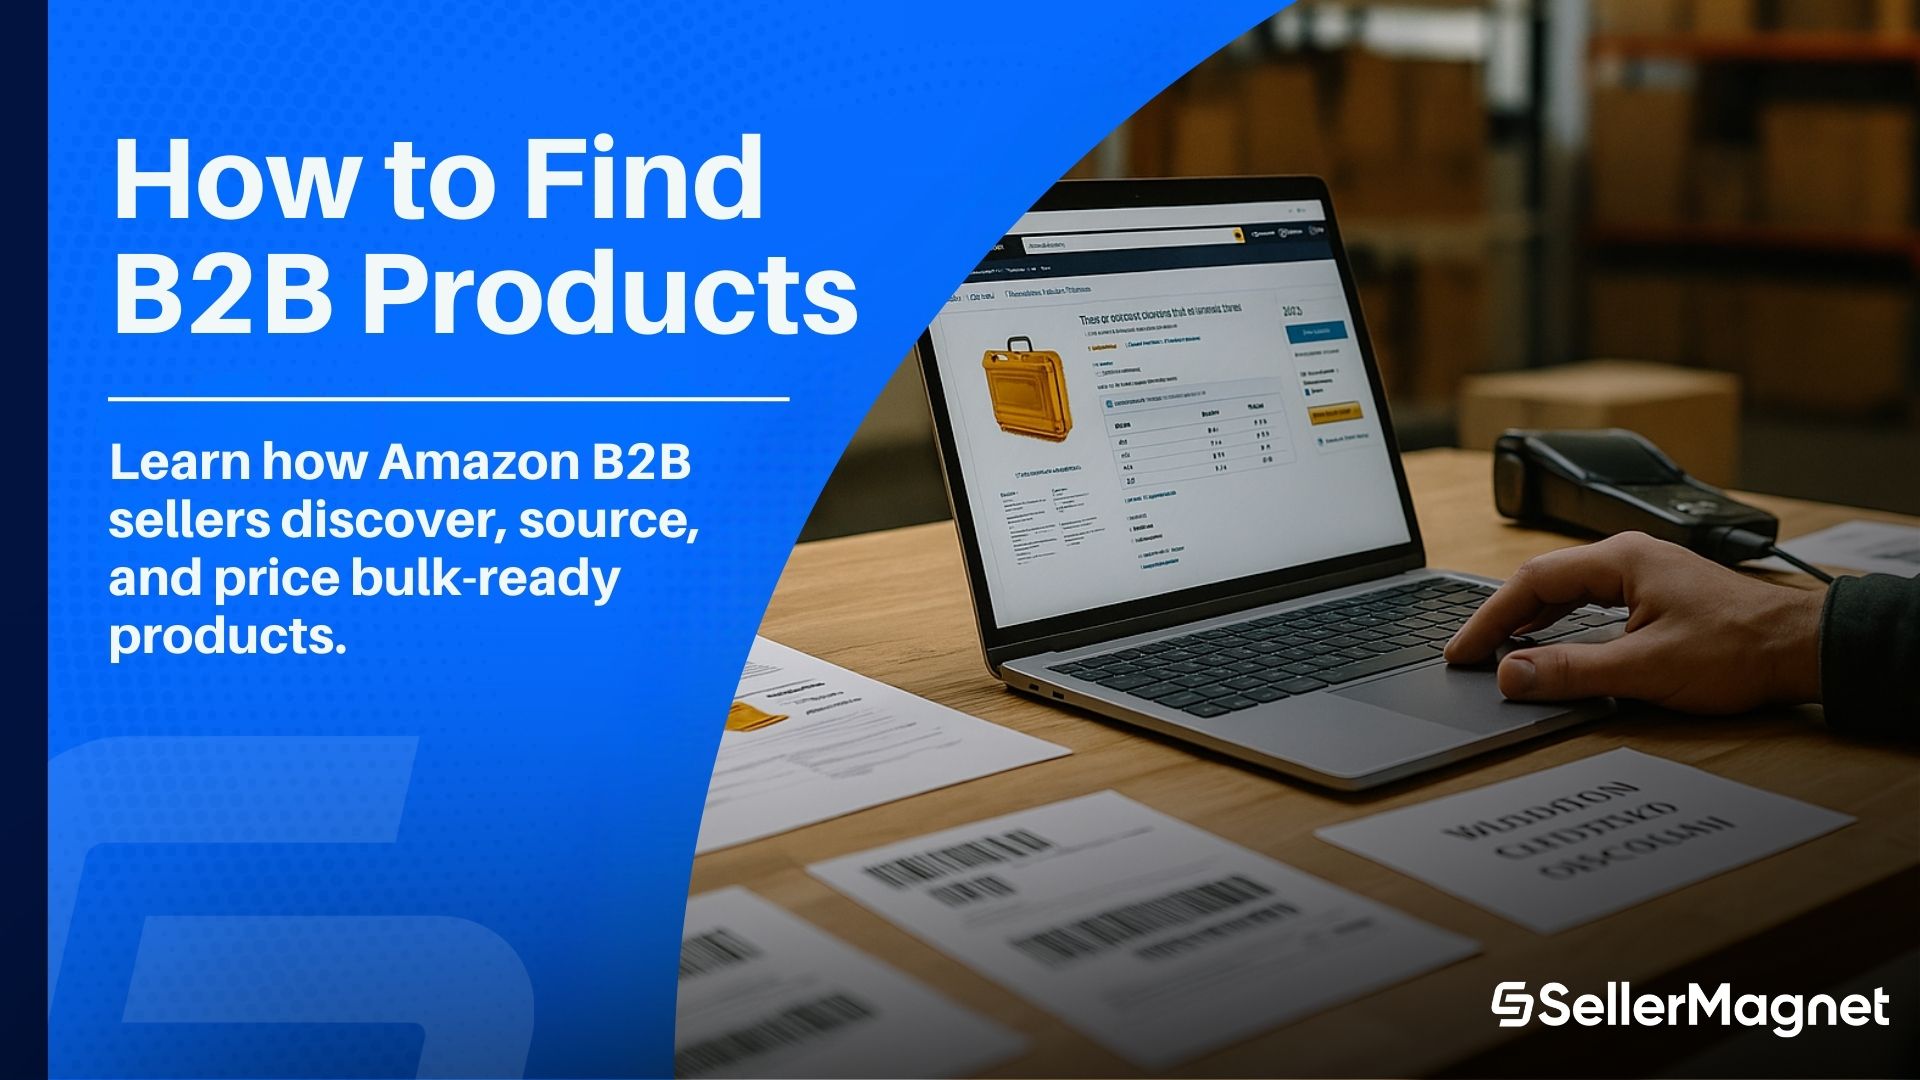
How to Find Profitable B2B Products on Amazon
A practical guide for Amazon B2B sellers: where to find products, validate margins, set business pricing, and scale with data.
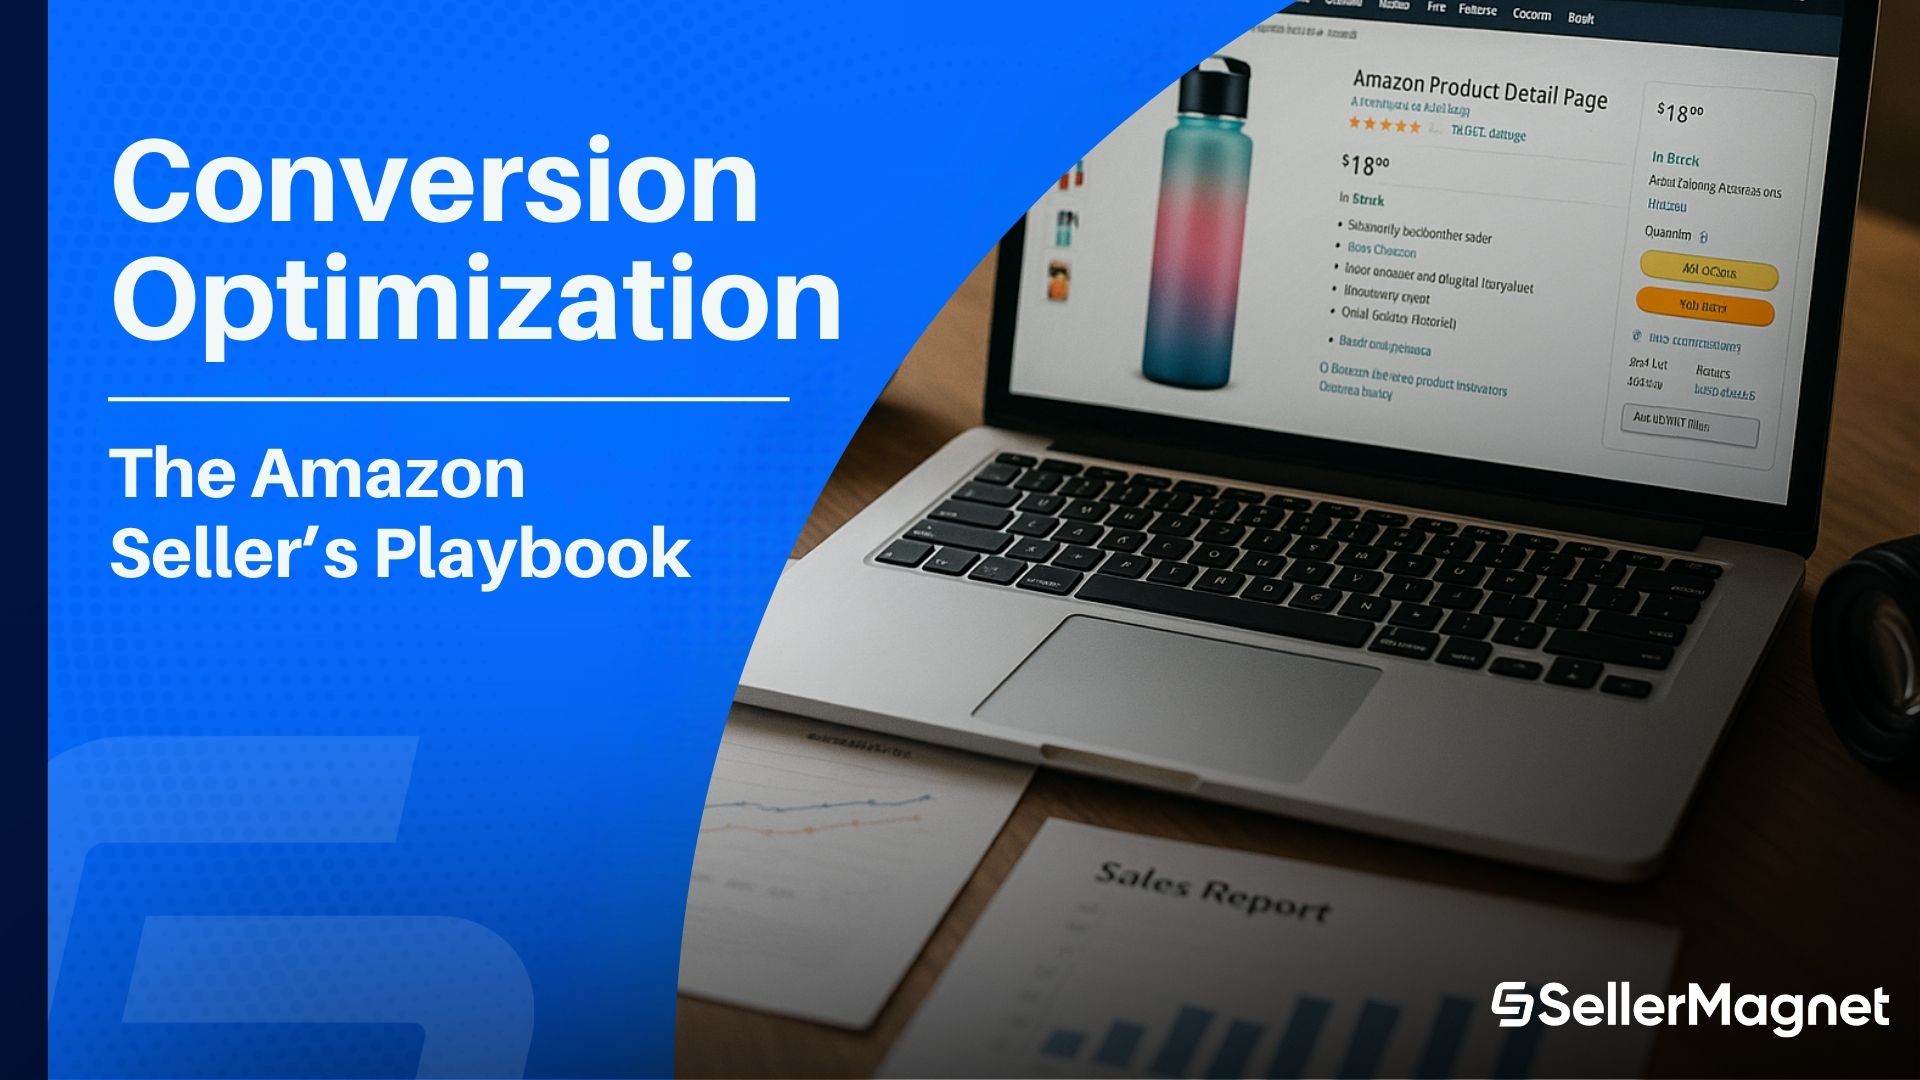
Improve Conversion on Amazon: The Seller’s Playbook
Actionable steps to increase conversion on Amazon: better titles, images, A+ content, pricing tests, reviews, and analytics.
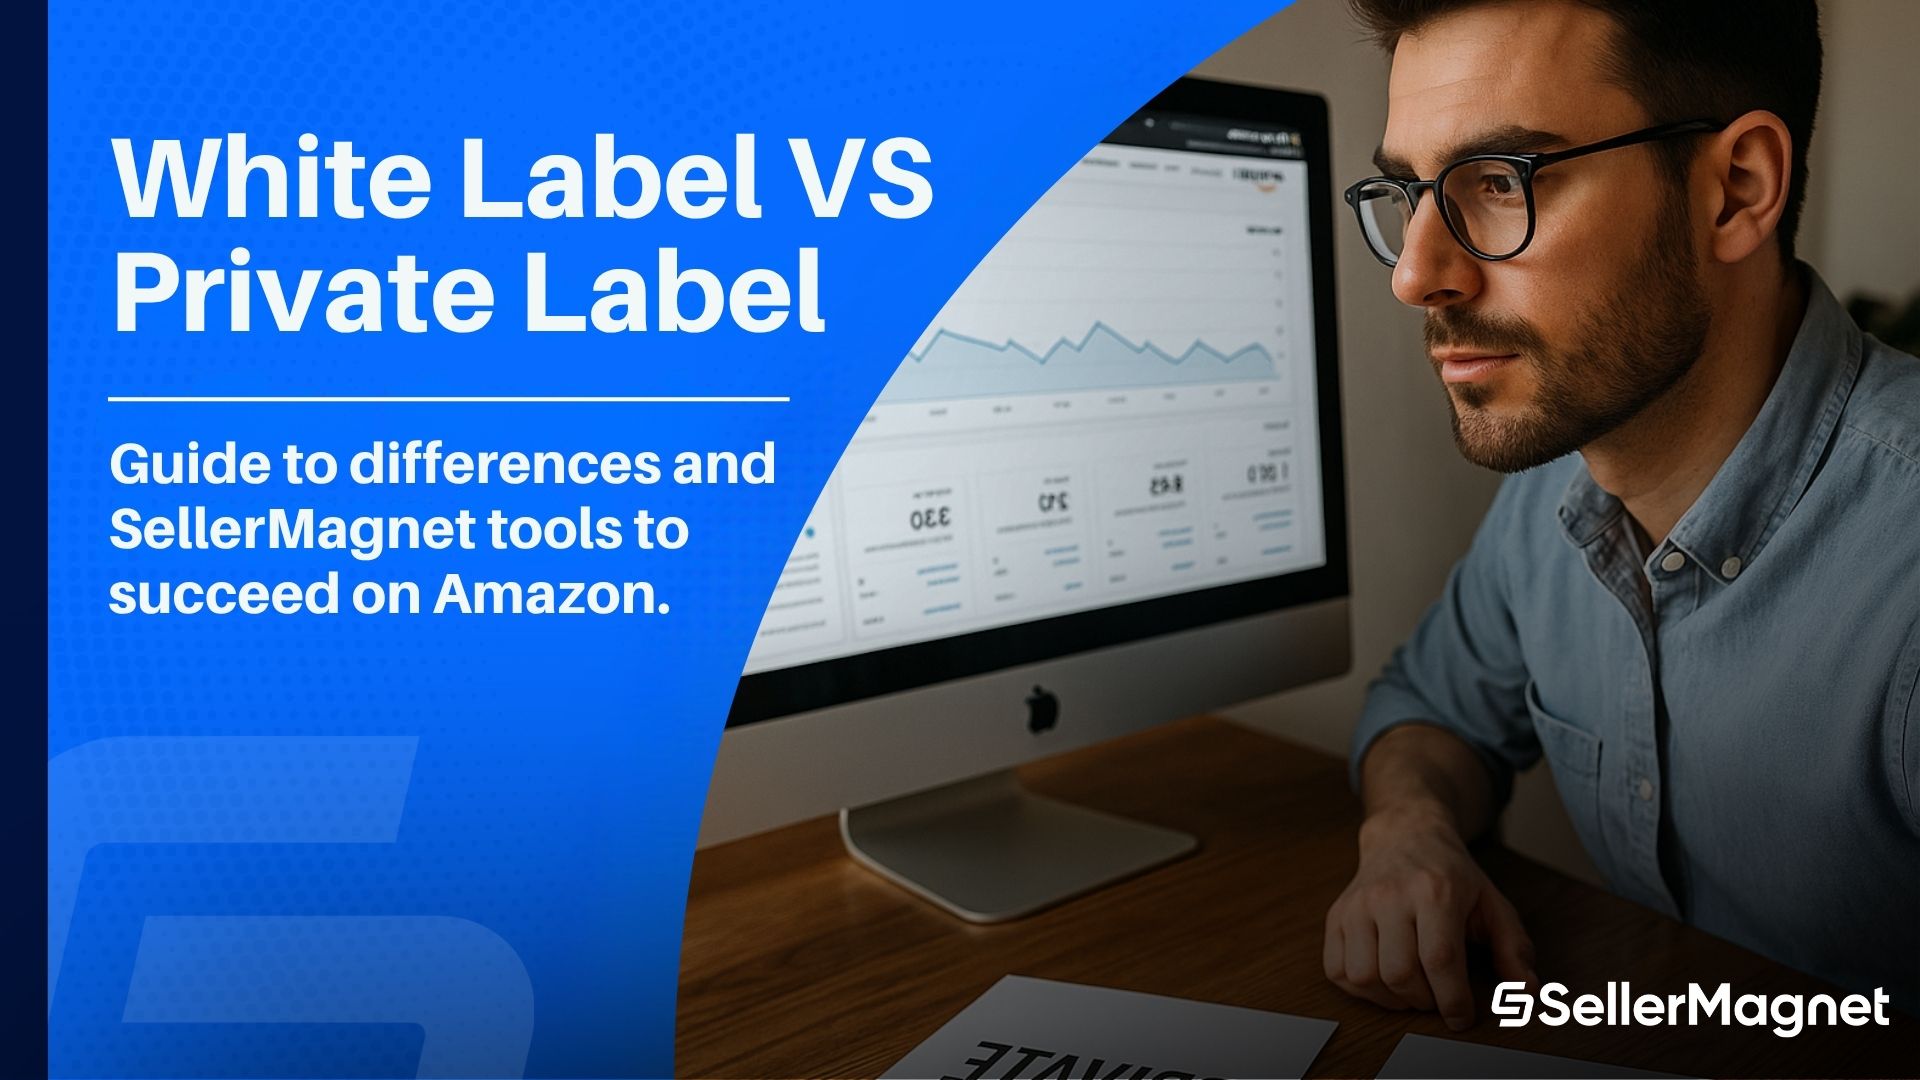
White Label vs Private Label on Amazon: Complete Guide
White or private label? Guide to differences and SellerMagnet tools to succeed on Amazon.

SellerMagnet Review Requester: Automate Amazon Reviews
Automate and manage Amazon review requests, boost your reputation and save time with SellerMagnet Review Requester.

How to Dropship on Amazon in 2025
Learn how to start and grow a dropshipping business on Amazon. Rules, suppliers, tools, and key strategies explained.